DIY Photo Snow Globe | Whitney Beth Photography | Utah Family Photographer


DIY Photo Snow Globe | Whitney Beth Photography | Utah Family Photographer
I am so ready for Christmas! This years’ photo DIY was inspired by the dollar spot at Target. I was walking around the store and saw this “create your own snow globe.” It was only five dollars and I knew I could make something cute with it. (I saw some cheaper ones made of plastic at the Dollar Tree a few days later.) It was also around this time that I had booked a time slot for my Christmas pictures. I was using a different studio than I had in the past and aside from the typical Christmas tree and bed set up, they also had a sled! So when we showed up for pictures, it was no surprise that my boys ran right for that thing and started their pretend play. It all came together in my mind while photographing my boys riding the sled. It turned out pretty cute! Here are the instructions on how I assembled my snow globe. You can even do it if you don’t have a snow globe too!
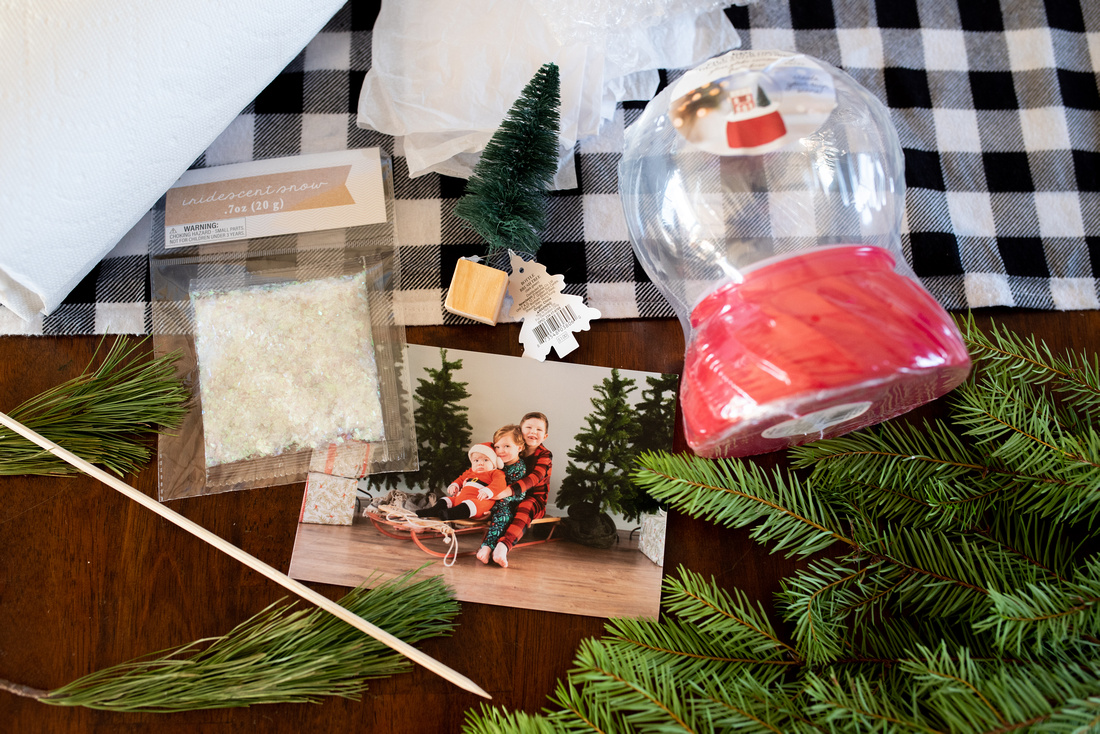
WHAT YOU NEED:
- A photo of your choice (I printed mine to a 5x7 since I had plenty of room in the globe, just make sure your picture will fit in whatever you use)
- play dough (not pictured)
- stuffing, such as bubble wrap, paper towels, tissue paper, etc..
- glitter or fake snow
- trees or accessories to decorate with
- dowel
- tape
- snow globe, but if you don’t have one, you can use a mason jar!


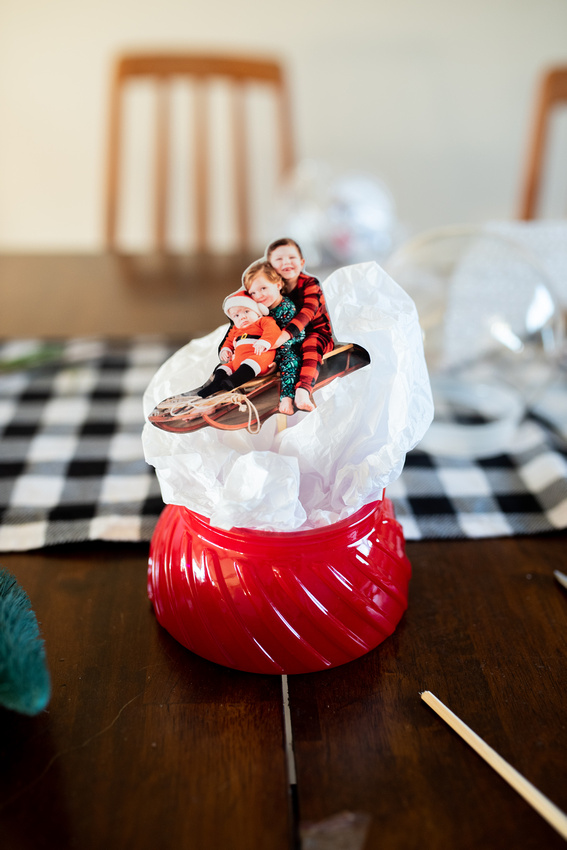
1. Cut out your picture and tape a dowel to the back of it.


2. Since my base of the snow globe is hollow, I used play dough to make a base to stick my dowel into. Make sure to measure your dowel so that your picture sits at the height you want. (I used red so that it would blend into the base of my globe)


3. Next, stuff the base of your globe with fillers. I used some bubble wrap I had left over from a client package. This will also stabilize your photo.

 4. After that, I wanted to create a hill for the boys to be sliding down on. I used tissue paper to create this effect and then just tucked it into the base. With this step go bigger than you want since it’ll compress a little when you put the lid on.


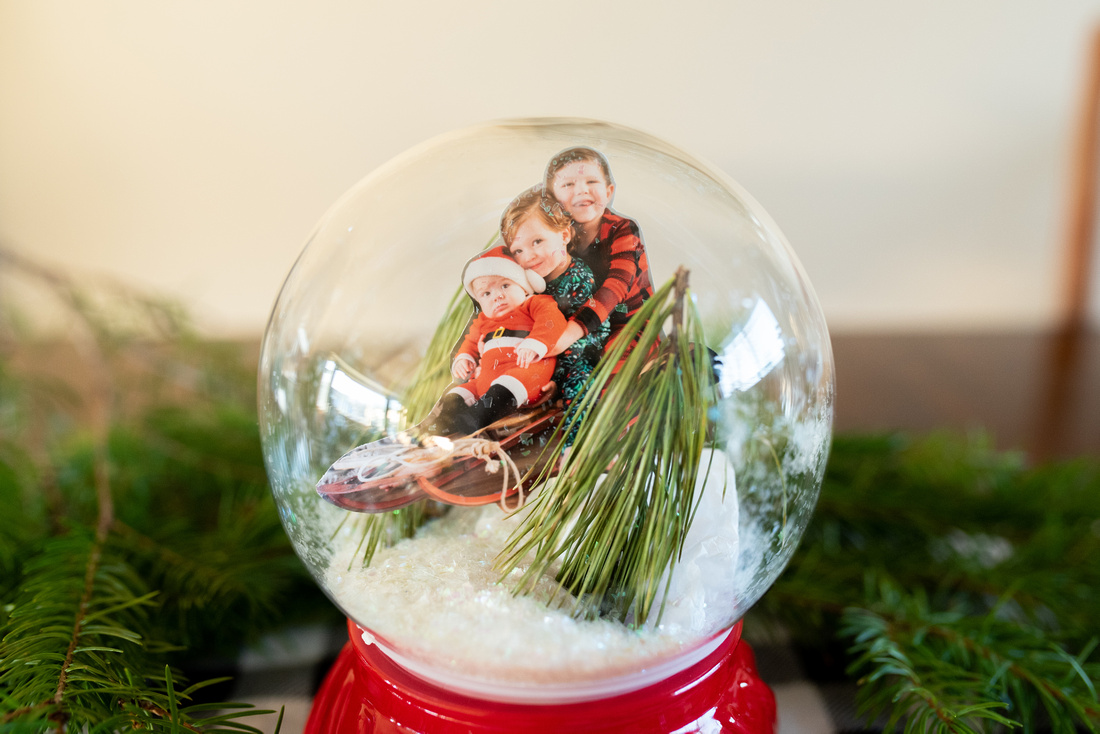
5. Next up are the accessories! Originally I intended to use a bottle brush tree, but it was too big for my space. Instead I clipped some greenery from my live garland and used sprigs of pine to make it look like little pine trees on the mountain. I just secured these with some tape to the tissue paper as well as sticking them into the base.


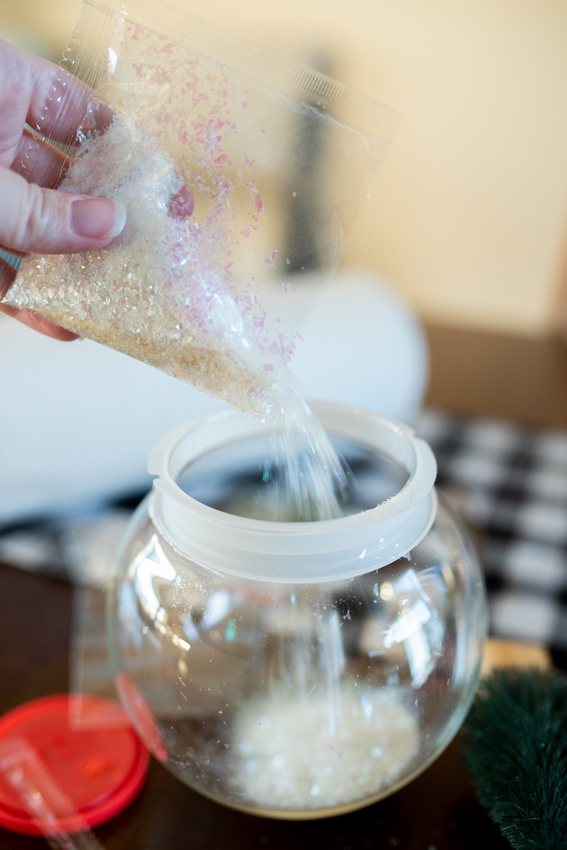
6. Next, carefully pour the snow/glitter into the bulb of the globe


7. This part is tricky. Place the bulb of snow in your lap and put the base on the lid. You have to do it upside down so that the snow doesn’t get everywhere.

 8. After that, you are done! Remember that your scene will compress a little bit from being shoved into the globe. Now you have a little momento from this year that you can pull out year after year with your Christmas decorations. (For added insurance you can always hot glue the lid shut)


