DIY Photo Transfer Ornaments | Whitney Beth Photography | Utah Family Photographer
DIY Photo Transfer Ornaments | Whitney Beth Photography | Utah Family Photographer
As I was flipping through some memories in my photos I came across the DIY I made for Danny for father's day - it was a tie that I had printed out a bunch of pictures on iron on paper and let the boys decorate it. Inspiration struck and it sparked another easy project you can do using the iron on paper. I still had a whole stack of it, and thought why not! Introducing; fabric photo ornaments!
WHAT YOU NEED:
- WHITE FABRIC
- IRON ON PAPER
- DIGITAL PICTURE
- SEWING MACHINE
-STUFFING
-IRON
- RIBBON
- CLEAR OR WHITE THREAD


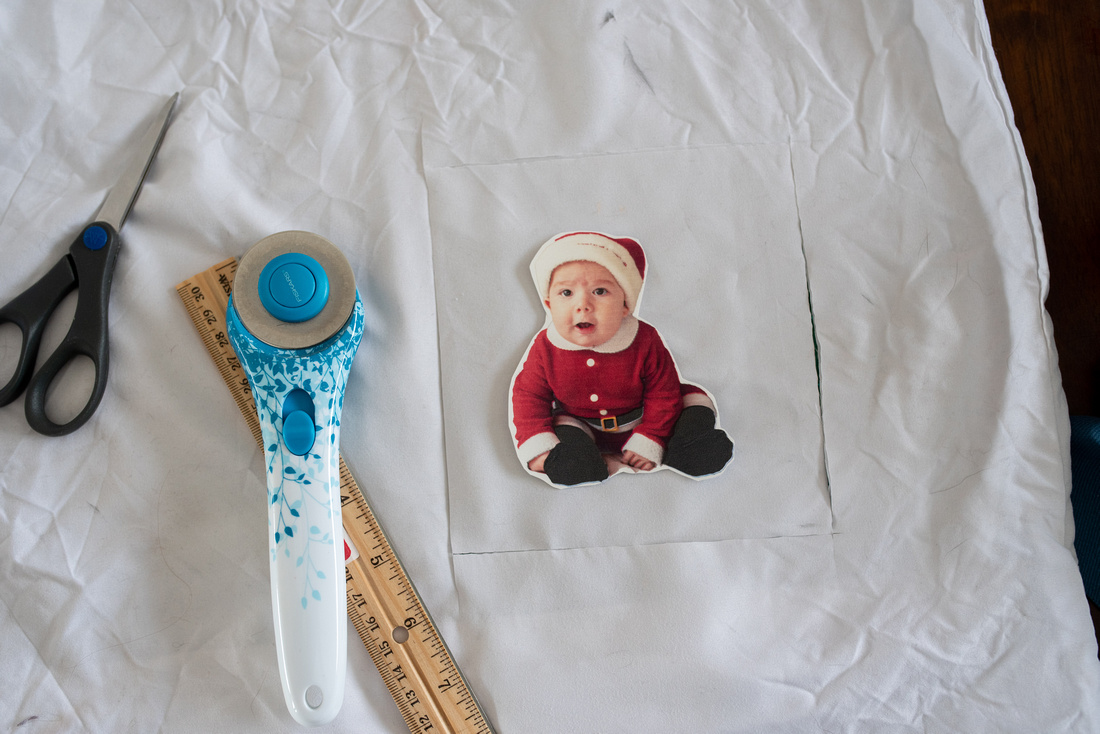
 1. The first thing you'll need to do is pick out what picture you want for your ornaments. Since this is Remmy's first Christmas I made at least one of them be of him. I pulled mine into photoshop to get a rough outline - totally optional, you can let your scissors be the photoshop and just cut out your picture on the paper. (Don't forget to flip it since it'll iron on reverse!)
2. Print out your picture on the iron on paper and cut out your subject.


 3. White fabric works best (I ended up using an old pillowcase so I didn't have to run to the store) - cut out two pieces of the material bigger than your picture to allow for seam allowance.


4. Using your iron, iron on the picture to the fabric, print side down.


5. Once it's cooled, peel off the paper backing


6. Next, we prep for sewing! Place your fabric together so the fronts touch.

 7. Sew around your picture. I used black thread so you could see it better. If you can't tell where your picture is, you can always trim off the edges in the shape you will sew. Be sure to leave an opening at the top. This is where you you will stuff and put the ribbon in.

 8. Turn it right side out.

 9. Now you have a little baggie of your picture. Time to stuff! (I used scraps of material from the pillowcase I cut into because I didn't want to drive to the store just for stuffing! ha!)

 10. Get your white or clear thread and needle ready. fold in the edges to give yourself a nice seam and stick the ribbon in the hole. Then use your thread and needle to stitch it closed. You can use your sewing machine if you want, but I did it by hand to have more control over what parts get sewed.


 11. And voila! You are done! Hang that Santa Baby on the tree, step back and admire your fancy work!


Comments
|
January
February
March
April
May
June
July
August
September
(1)
October (1)
(1)
November (1)
(2)
December (2)
|
(2)
January (2)
(3)
February (3)
(3)
March (3)
(3)
April (3)
(3)
May (3)
(6)
June (6)
(4)
July (4)
(1)
August (1)
(3)
September (3)
(6)
October (6)
(2)
November (2)
(1)
December (1)
|
(3)
January (3)
(1)
February (1)
March
April
May
June
(1)
July (1)
(10)
August (10)
September
October
November
December
|
January
February
March
April
May
June
July
August
September
October
November
December
|
January
February
March
(1)
April (1)
May
(3)
June (3)
(2)
July (2)
(3)
August (3)
September
October
(6)
November (6)
(3)
December (3)
|
January
February
March
April
May
June
(4)
July (4)
(8)
August (8)
(12)
September (12)
(14)
October (14)
(13)
November (13)
(6)
December (6)
|
(14)
January (14)
(12)
February (12)
(13)
March (13)
(13)
April (13)
(13)
May (13)
(9)
June (9)
(11)
July (11)
(13)
August (13)
(13)
September (13)
(13)
October (13)
(13)
November (13)
(11)
December (11)
|
(13)
January (13)
(12)
February (12)
(10)
March (10)
(12)
April (12)
(12)
May (12)
(10)
June (10)
(11)
July (11)
(11)
August (11)
(12)
September (12)
(11)
October (11)
(10)
November (10)
(8)
December (8)
|
(7)
January (7)
(6)
February (6)
(14)
March (14)
(8)
April (8)
(13)
May (13)
(13)
June (13)
(9)
July (9)
(12)
August (12)
(12)
September (12)
(11)
October (11)
(11)
November (11)
(6)
December (6)
|
January
February
March
April
May
June
July
August
September
October
November
December
|
January
February
March
April
May
June
July
August
September
October
November
December
|
January
February
March
April
May
June
July
August
September
October
November
December
|
January
February
March
April
May
June
July
August
September
October
November
December
|

