
Understanding ISO | Salt Lake City Family + Senior Photographer

ISO is another photography term that you need to know if you plan on understanding how to shoot in manual mode. The three “biggies” of manual are; aperture, shutter speed and ISO. All working in harmony to create the image you want. (You can read about my understanding aperture post here.) But what is ISO, and what does it mean? To give you the straight away definition, ISO determines how sensitive your camera's image sensor is to light. That probably means nothing to you. But to put it in lay man's terms, it basically determines how much light is in the image you wish to capture and how you should treat it. (Back in the days of film this would be another way of looking at your film speed.)
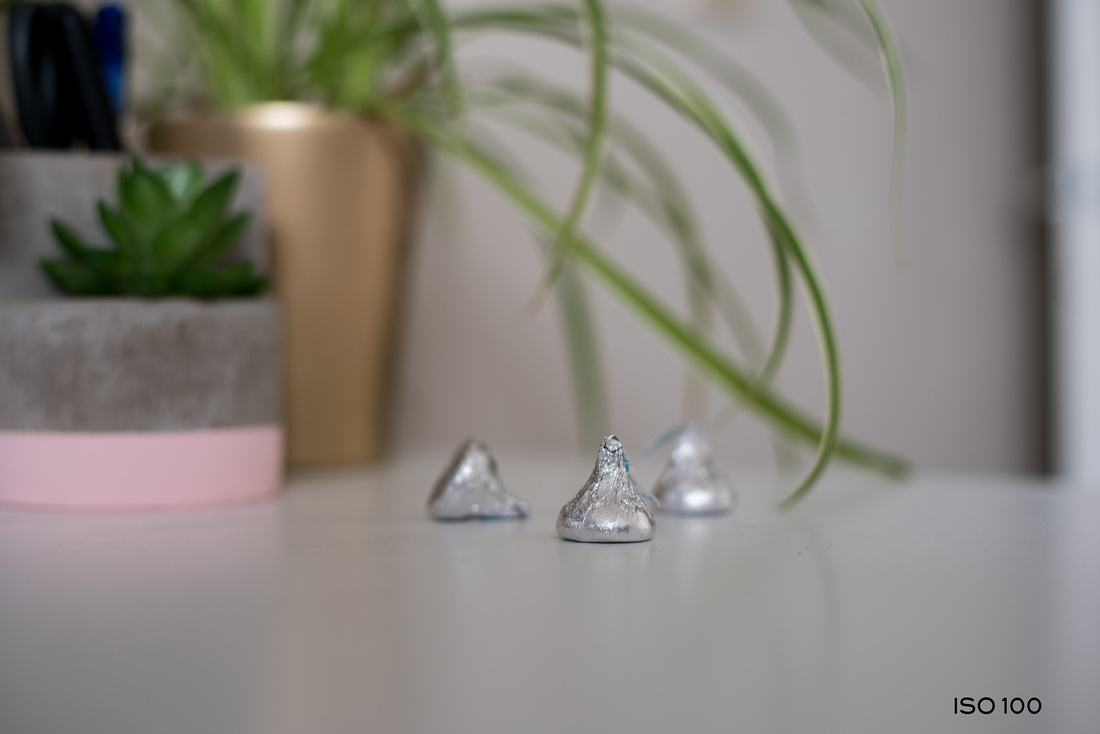
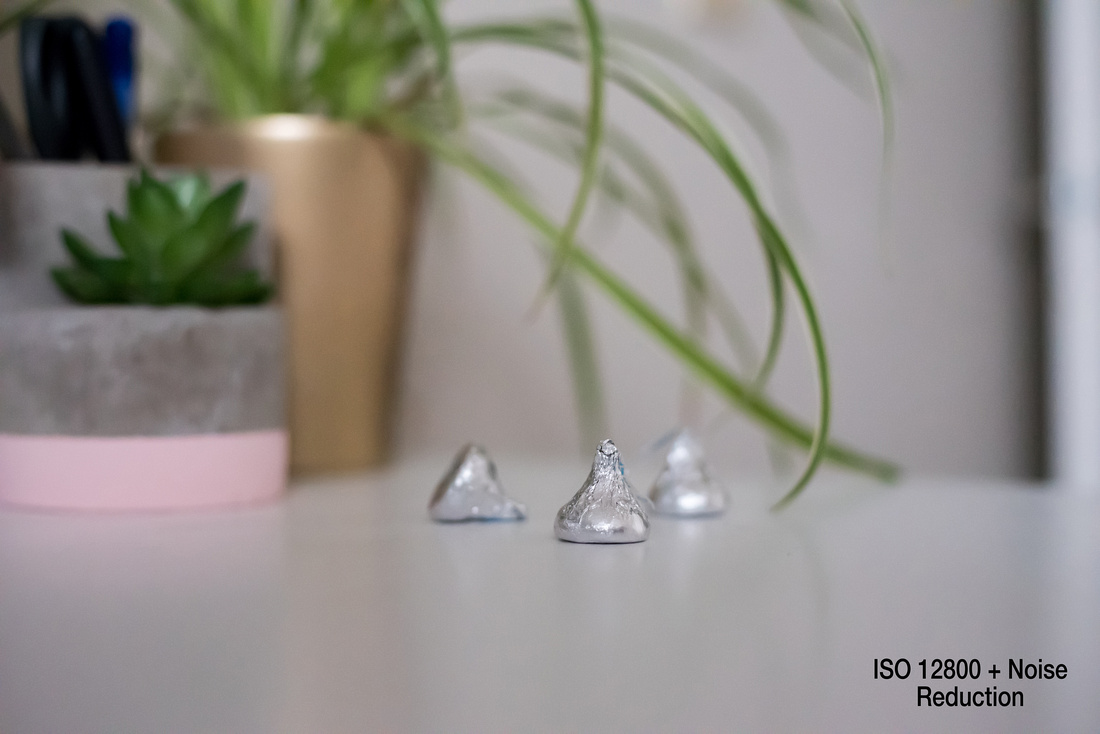
So the just of it is, the more light, the lower your ISO. The less light, the higher your ISO. When I was first learning photography this still meant nothing to me. I'm a visual learner, and having to understand things by reading was often hard. To make it easier, I set up a quick little still life in my office to demonstrate the same scene, just at different ISO's.
ISO 100 - (This would be equal to a bright, sunny day outside.)
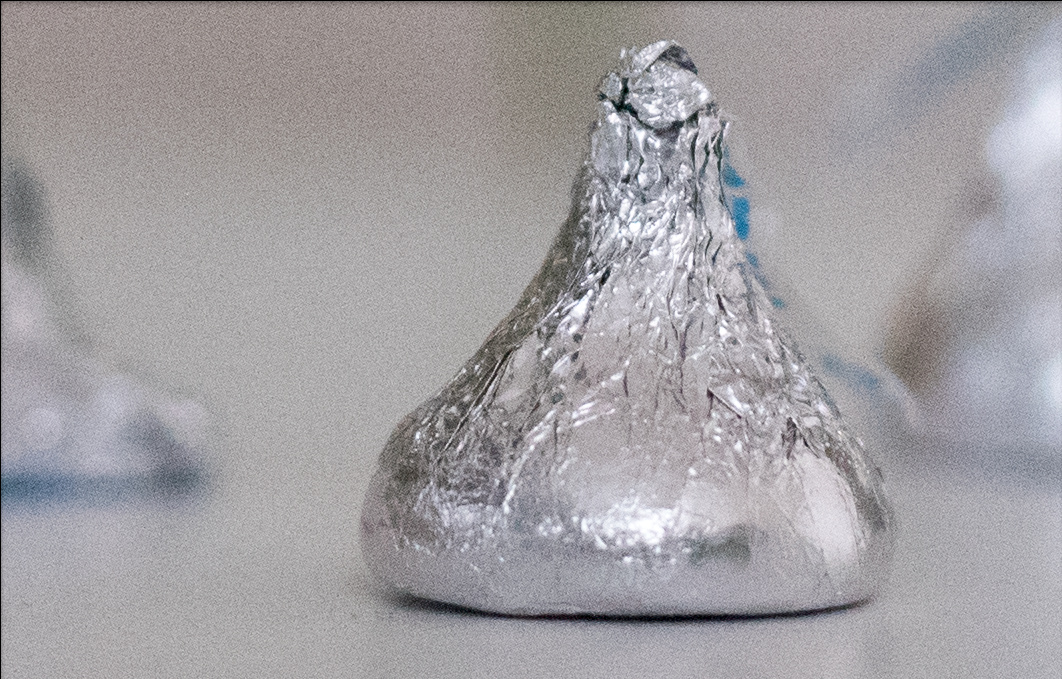
 Here's a screen shot of a close up of the kiss -
 It looks pretty good, right? Everything is nice and crisp and the colors look great.
ISO 1000

And just like before, another close up of the kiss
 In the zoomed in version, you start to see specs around the image. This is called grain or noise - depending on who you're talking too. (In the days of film it was primarily called grain, but when digital emerged it was coined, noise.)
ISO 5000
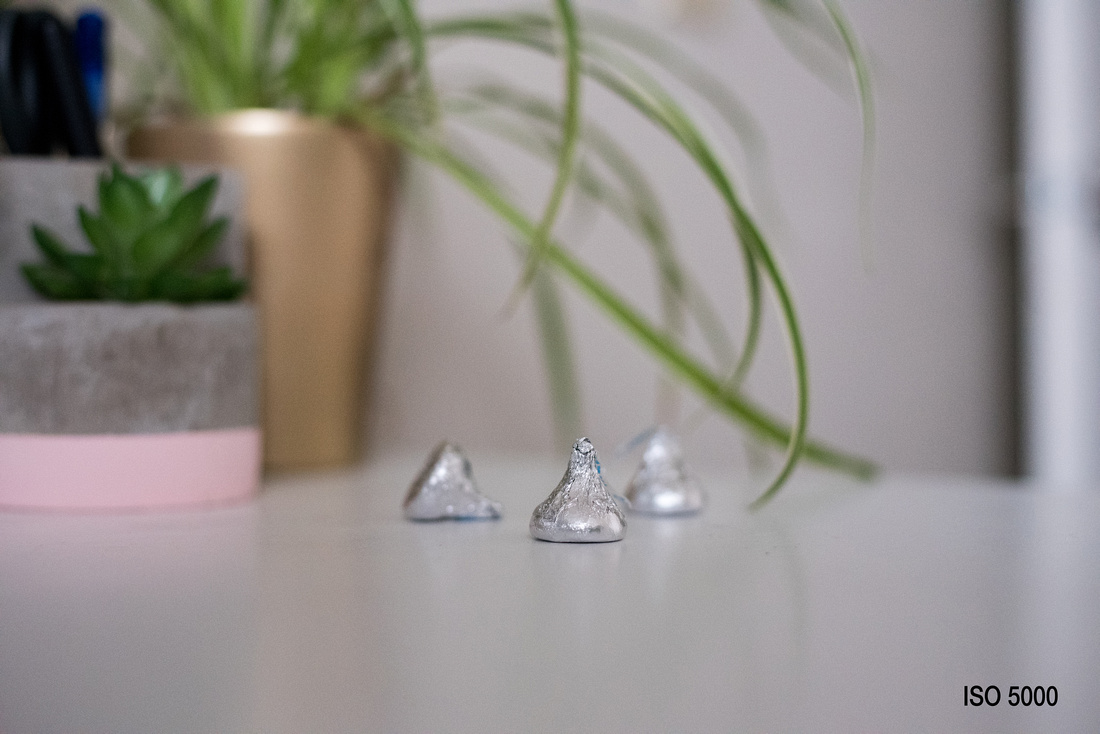 With ISO 5000 you can see the noise before I even zoom in.
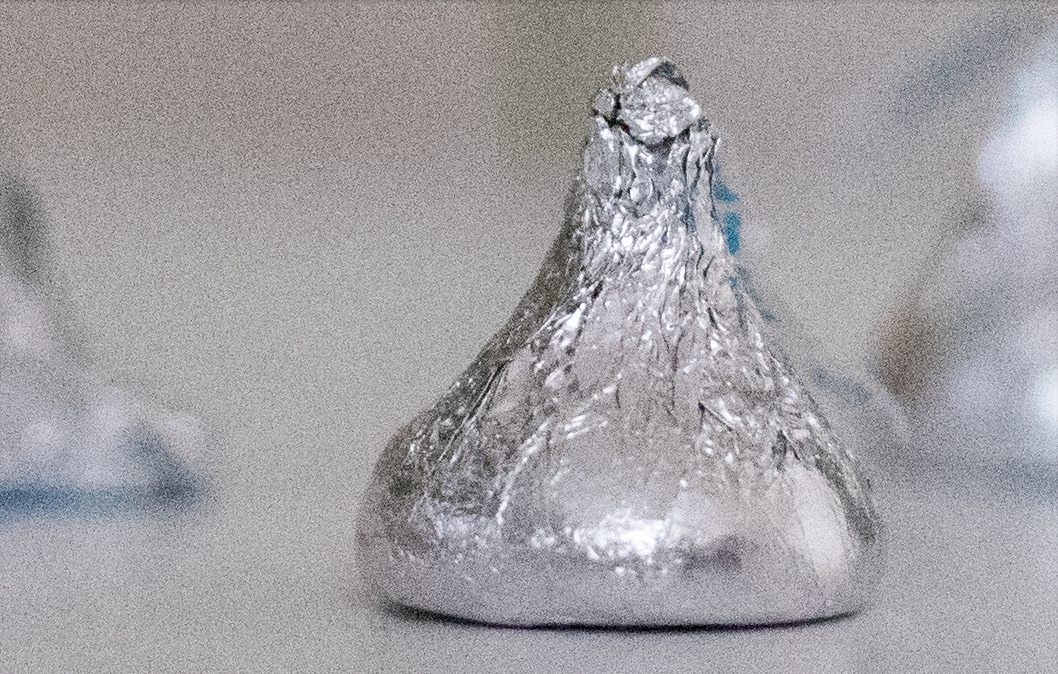
 ISO 12800
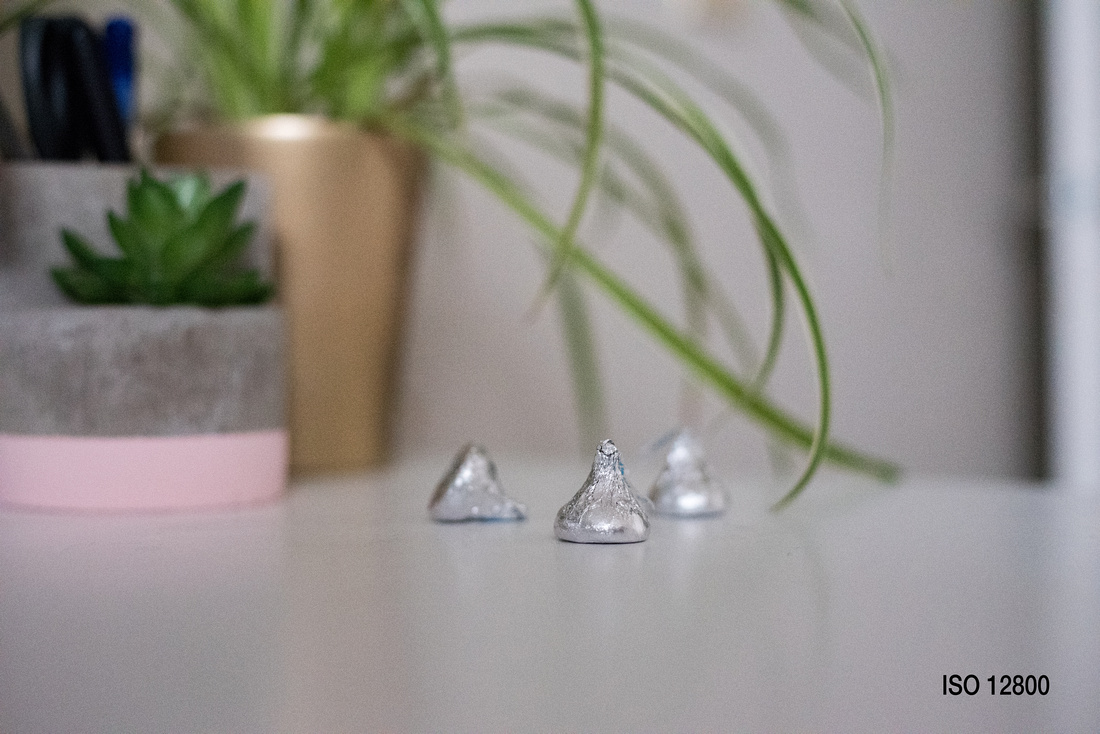 This is about the max of my camera as far as ISO goes. (Most DSLR's don't even get to this point.) But you can see the visible noise and the quality of the image is not as great as if it was at a lower ISO. - Especially when looking at the zoomed in version.
 By now you may be thinking, "Well I'll just never raise my ISO higher than 500." But there is a time and a place for everything. Sometimes a cloud comes out or we shoot too late or the location has terrible lighting and you have no choice but to raise your ISO. That's ok! There are ways to remedy this. Especially if you are shooting in RAW. (I'll get to that in another blog post.) I took the above image of ISO 12800 and plopped it into Lightroom. From there I simply messed with the Noise Reduction slider.
 Here's a side by side to see the difference.


With that little tool, you'd never be able to guess that my ISO was so high. Thus, saving the picture and it's quality! There is no "right ISO" to shoot at. One of my pet peeves is when someone asks what settings I used to try and replicate the image. Unless you have the exact same set up and circumstances, it is going to be different every time. But by understanding the basics, you can use your knowledge to create the same look - all while having the correct settings needed for your image.