70's Stone Fireplace Makeover | Whitney Beth Photography
70's Stone Fireplace Makeover | Whitney Beth Photography
I REDID MY FIREPLACE AND MADE A MANTLE FROM SCRATCH!
Phew! At the start of quarantine when we had already spent a good chunk of our time home, I, like many others, I'm sure, started looking into home improvement projects. We've lived in our house for five years, and for those five years I have hated how the yellow, 70's stone clashed with my decor. (1st world problems, I know.) I also wished that it had a mantle. Ideally I'd just rip that sucker out and build a new one, but I didn't have the time, money or energy to commit to that kind of an undertaking. Instead, I turned to my pinterest board full of home improvement ideas and hunted down the pins I had saved regarding white washing. For starters, here's the before:
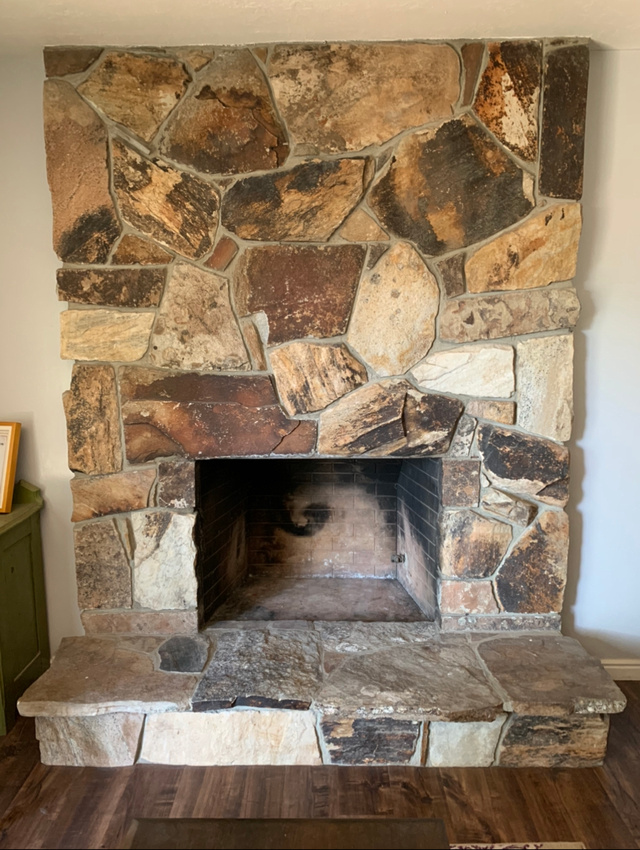

And honestly, that's not even the true "before." When we moved in it had this ghetto gas insert that was not secured in any way. It was big, clunky and old. Not to mention you had to stretch a cord across the corner of the room to the outlet to plug it in. Super not safe - especially since I was able to just wiggle it out. After having a friend come over to shut the gas off, this was the state of our fireplace for the next four and a half years.
I started out by watering down some white paint I already had and painting a test stone to see if I liked it. Which escalated quickly into me doing most of the fireplace.
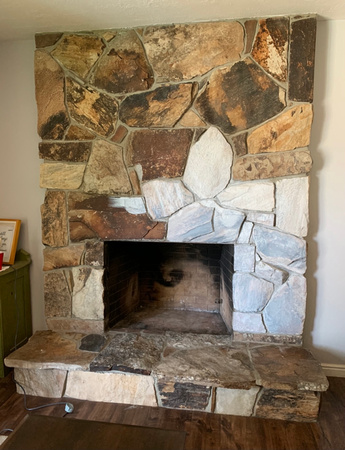

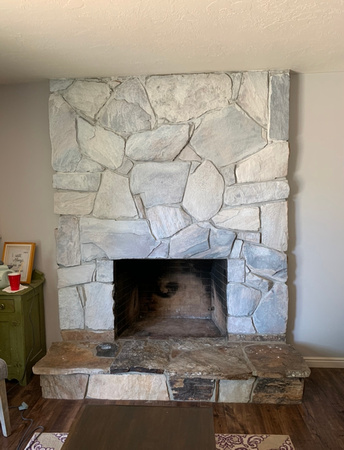

I ended up doing two to three coats since the darker stone read "blue" under the white. And then it sat untouched for a few months when I started sketching up ideas for the next phase. My whole goal with this was to have a mantle by December so that I could hang our stockings.
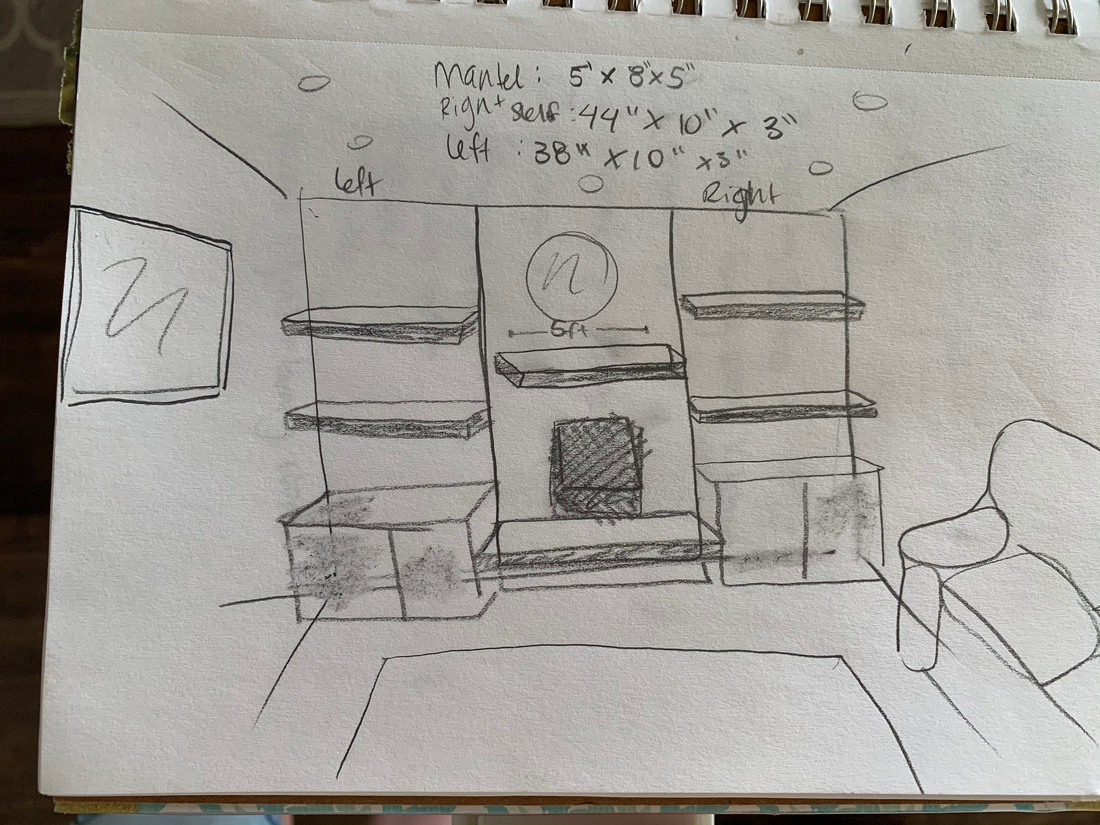


Finally November rolled around and I decided it was now or never! So I loaded up the boys and took them to Home Depot to get the supplies I needed. We got a mini van at the end of summer and I have loved that thing since the second we test drove it, but let me tell you, loading up my car with a ten foot beam sure made me love it even more!

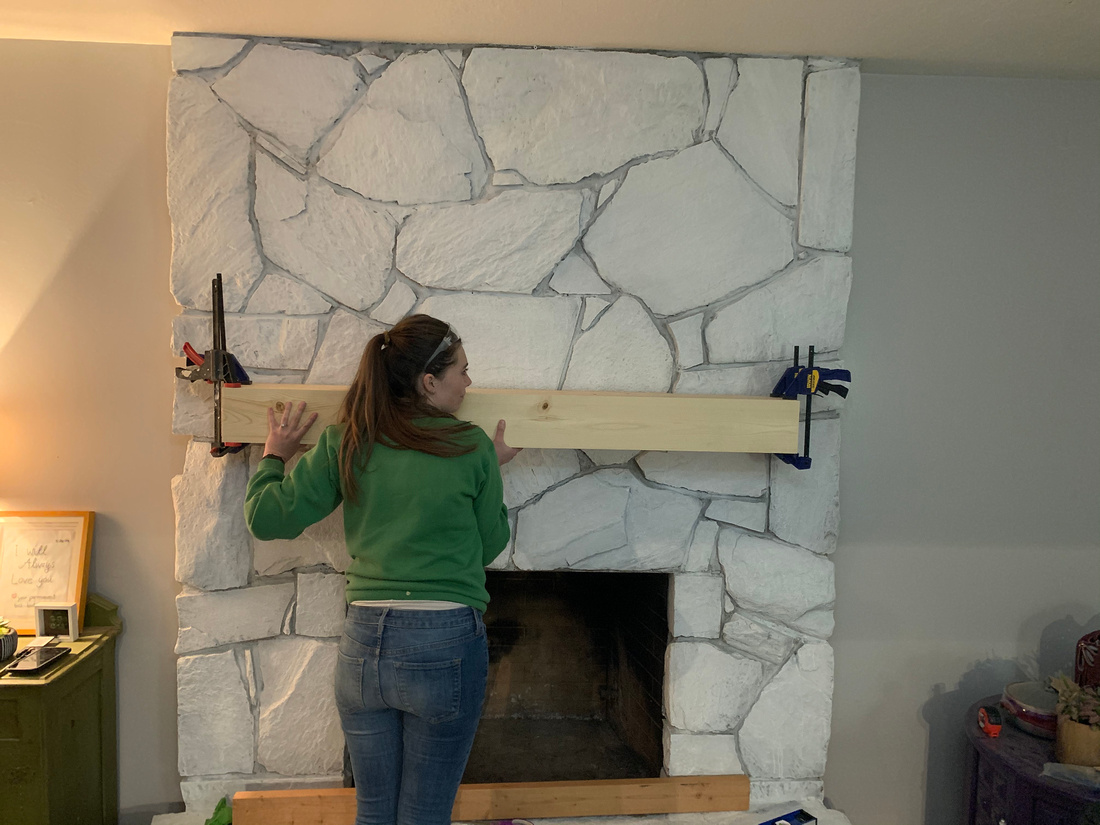
 I borrowed an angle finder from my brother in law, and a kreg jig from my friend, Annie. Who, luckily for me, asked if I wanted help! Since I had absolutely no idea what to do and was just going to wing it, I was more than happy for the assistance. We spent nearly a whole Saturday together while Danny took the boys up to Salt Lake. Just like with every other part of my house, the fireplace was challenging, to say the least. We ended up cutting our pieces down to build a box for a floating mantle. From then we used cardboard to create a template to jig saw out along the planks to fit as snuggly as we could against the stone. I also used the kreg jig so that I could hide my screws and not need to worry about wood filling them. (You can see in the picture just how janky and wonky my planks ended up being. I made this frame to screw into the fireplace and the the box mantle just fit over it like a puzzle.


Here's me doing a dry fit of the box so that we can mark where to instal the brace. I am so thankful Annie volunteered to help! There was no way I could've made that much progress without her help!

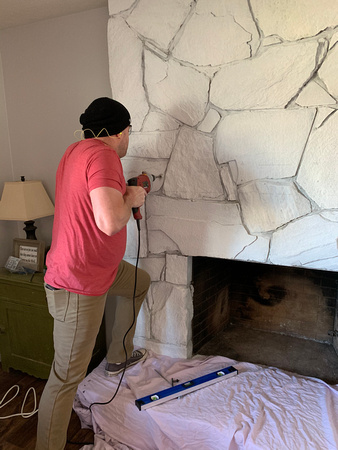
Then the fireplace sat mantle-less for a week. ha. Then after trying to figure out the best way to approach the hammer drill I called my Dad and and he came down for a few hours and helped me figure out our plan of attack. The stone was too hard for the drill bit since - despite being a masonry bit. We ended up having to drill into the grout. Then the anchors I originally got ended up not working. Luckily my dad had some, but they were too short for the 2x4 and we ended up having to counter sink it in the wood with a washer. Once it was secured I slid the box mantel on and secured it with wood screws.


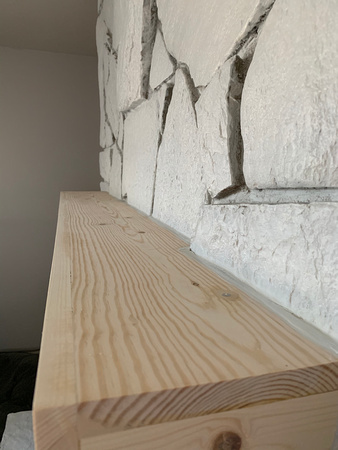
And then, the mantle sat like that for another week. haha. I was so close to being done! Since my jig saw action wasn't 100% I needed to fill the gaps with backer rod so that I could caulk the seams. Before that I wood filled and sanded everything down. I caulked the seams, and conditioned the wood to prep for the stain. I used a combo of "natural" and "Walnut" to still give it a lighter tone and to pick up the highlights in my wood floor.



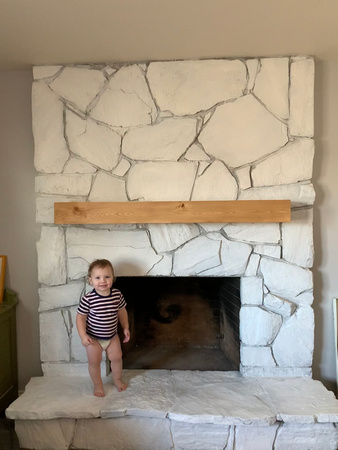

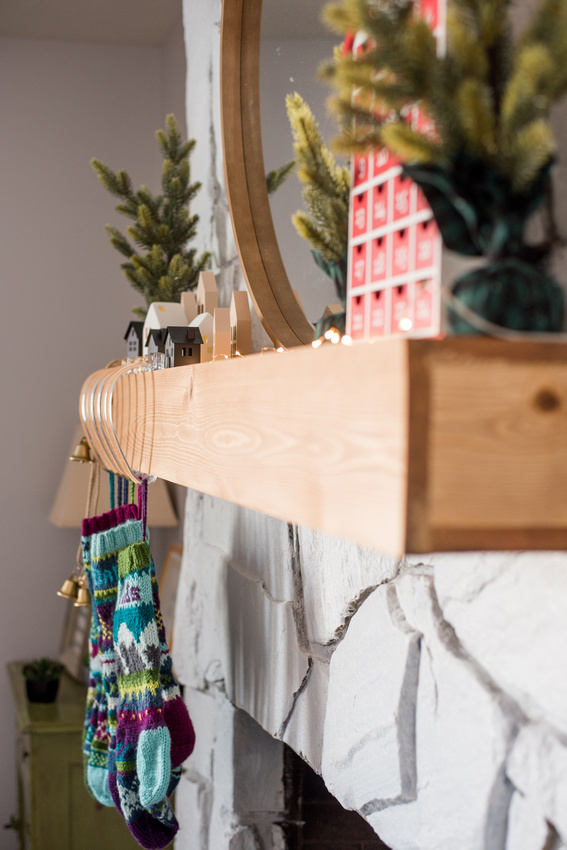
The final step was hanging my mirror! In theory it should've been easy, but no, it was very on brand with my house. I ended up securing to to two mortar screws with gravity and some hanging wire. But don't worry, it's super solid and sturdy. After literal months, the biggest pain in the butt project is done! It makes me actually like the space - and makes me want to instal some can lights, get a new rug, and add some floating shelves to the either side of the fireplace. Whew. Wish me luck.


