
What to Do With Grandma's Old, Film Camera, Pt Two | Whitney Beth Photography

What to Do With Grandma's Old, Film Camera, Pt Two | Whitney Beth Photography
You all seemed to love my last post about what to do with grandma's old, film camera that I decided to write a follow up post on actually using said camera! Lucky for you guys, it's pretty easy! Gone are the days where you can just pop into any store and pick up a pack of film. However, stores that carry film still exist. If you're local to Utah, Allen's camera is an excellent place to get film. You can also find it online in places like B&H photo and even Amazon. Most of these cameras that your grandparents had will be using 35 mm. Which is good for you since it's one of the easiest films to locate and buy.
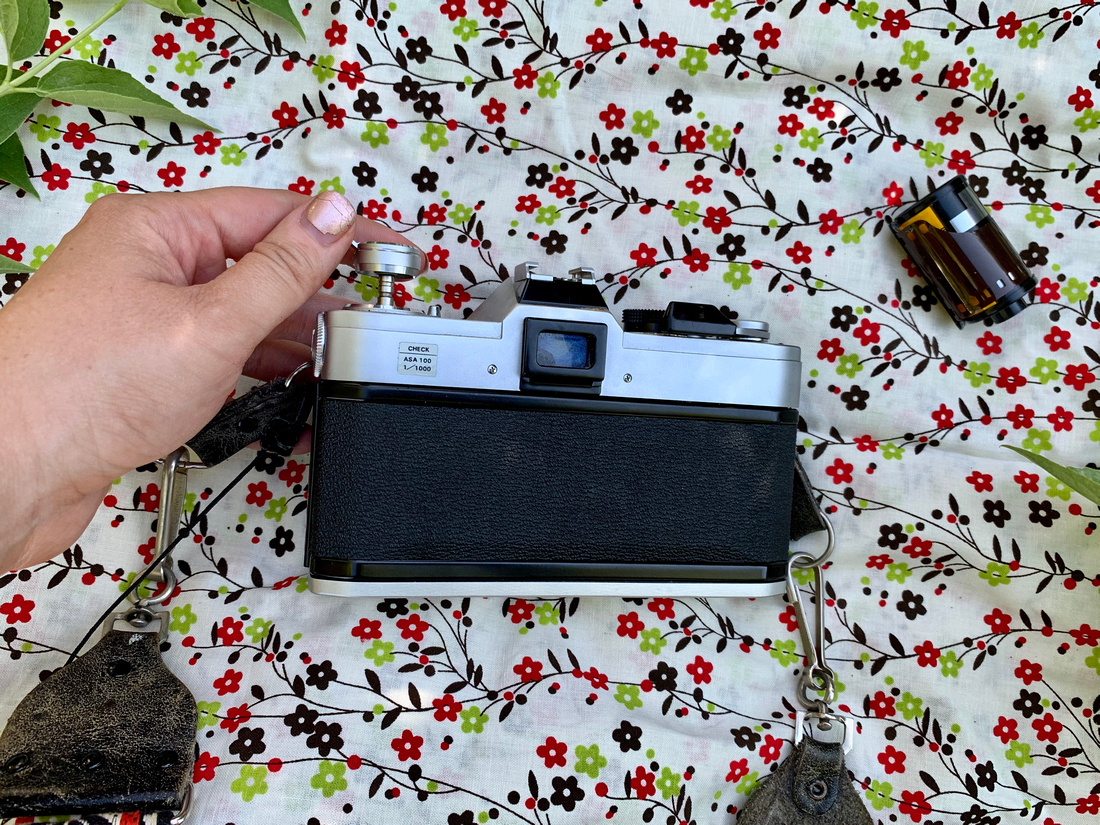
1. Open the back of your camera by pulling the lever on the top left.

 It should look similar to the above picture, compartment on the left for unexposed film, square that the picture gets exposed on, and compartment on the right for exposed film.
2. Take your film and put it in the left compartment and fold and close the lever you used to open the back of the camera. You are going to want to pull the film slowly out of the canister. Only pull what you need. This part of the film has now been exposed and won't be able to be used - but that's ok! It was designed that way. *Also, make note of what film speed you have. Mine is 200 (for my photographers out there - this is essentially your ISO)
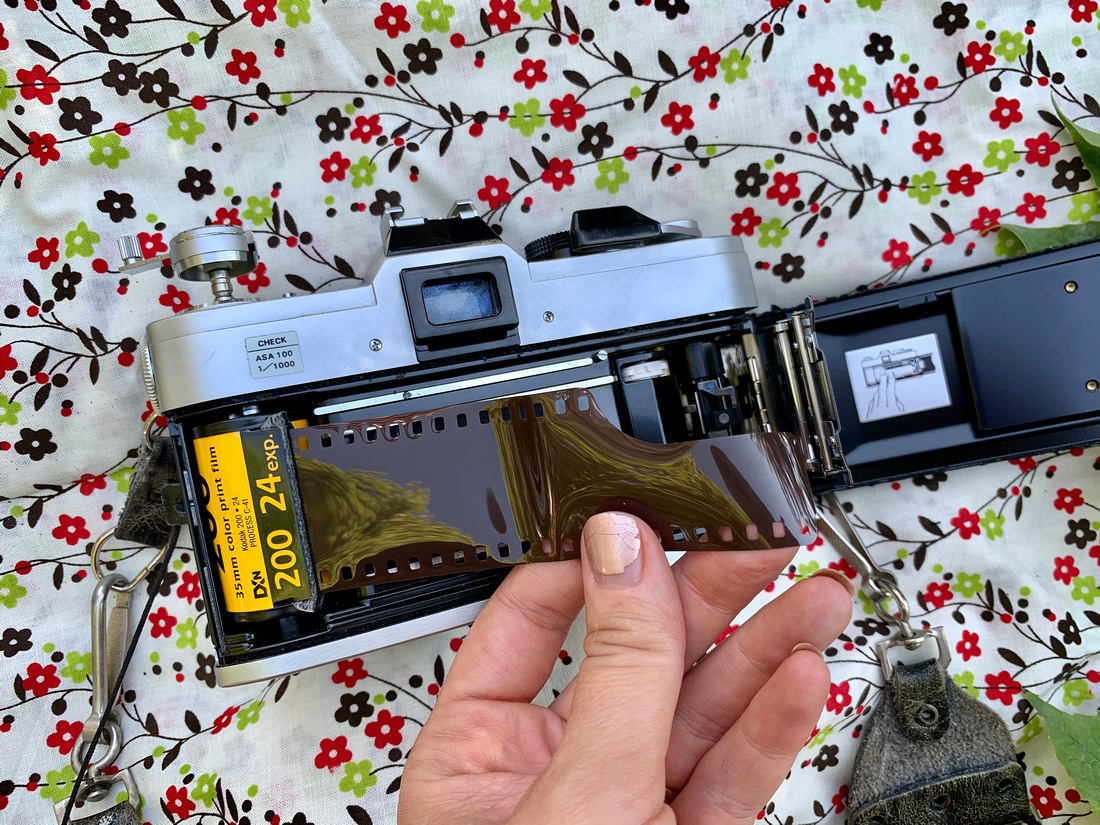
3. The next step is to get your film to catch on the pull system. In the top right, you'll notice a white roll with little catches on it. This is what you are going to feed your film through. Line up the holes in the film with the roll until it catches. Keep winding and "clicking" the camera as if you were to take a picture until the film is caught and is moving with every cock of the shutter.

 4. Once your film is in place and will roll into the right side with every click, close the back shut and advance the film (click and wind) for about three exposures or until your counter is at 0 or S. (depending on your model)

(disclaimer, I hadn't pushed down the back release yet. You'll want to do this as soon as you load the film. I fixed my mistake after this picture, but failed to get a new one with the mistake remedied)
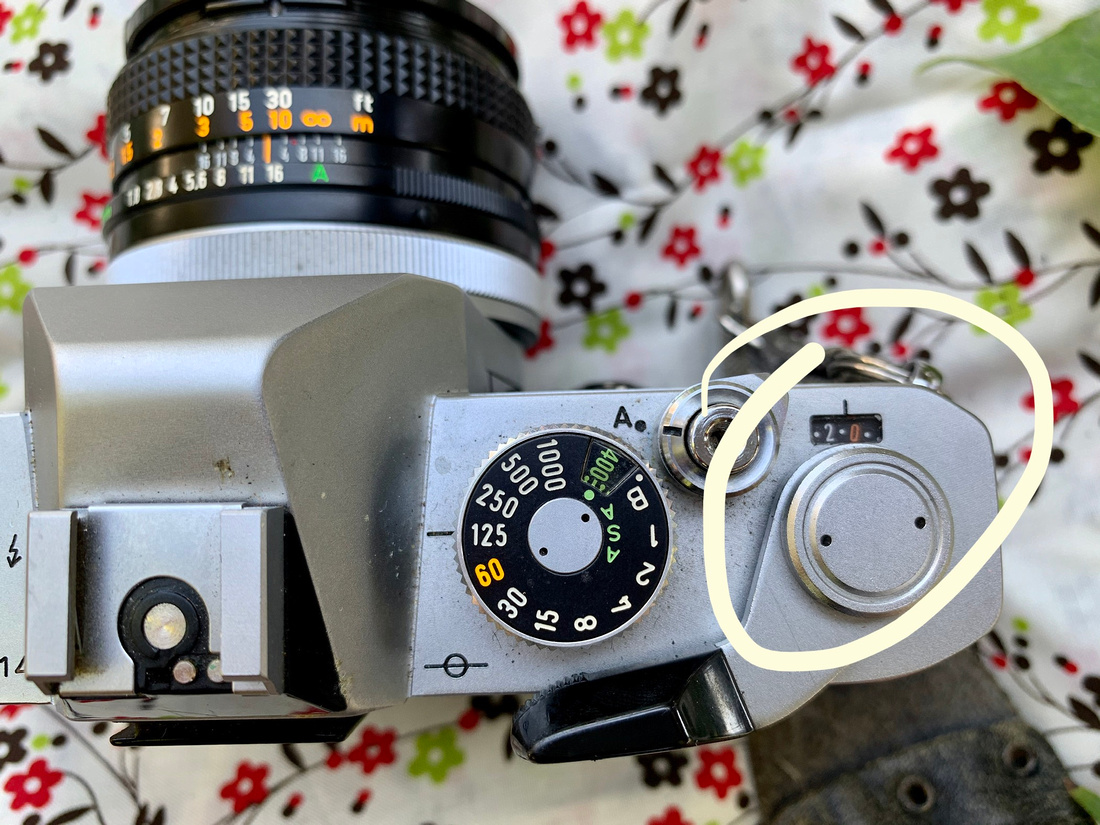
5. Now you are ready to shoot! The dial on top is your shutter speed. There is also a dial on your lens that controls your aperture. In this case, Im shooting with my 50 mm 1.8.
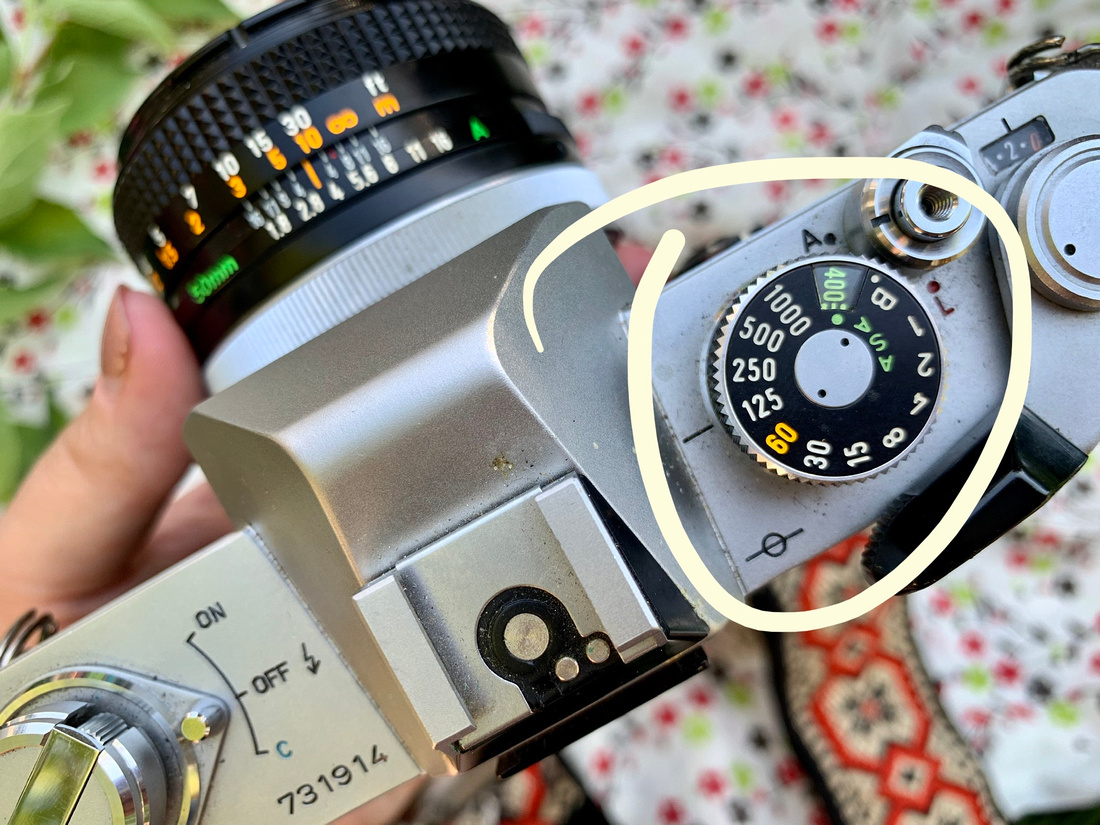

6. Depending on how old your camera is, it'll either have a light meter built into it or it won't. (Or in some cases, the battery is dead.) This won't effect the outcome of your photos, but it will dictate how you shoot. In this case I don't have a light meter built in, so I'm going to use an app! It's very fancy and named, "Light Meter." To use it, you just plug in your settings. Remember when I told you to keep in mind what film speed you have? This is where that comes into play. Put the speed as your ISO and then choose your desired aperture or shutter speed and whatever you didn't fill in will be calculated and you'll know what your settings need to be at that spot.


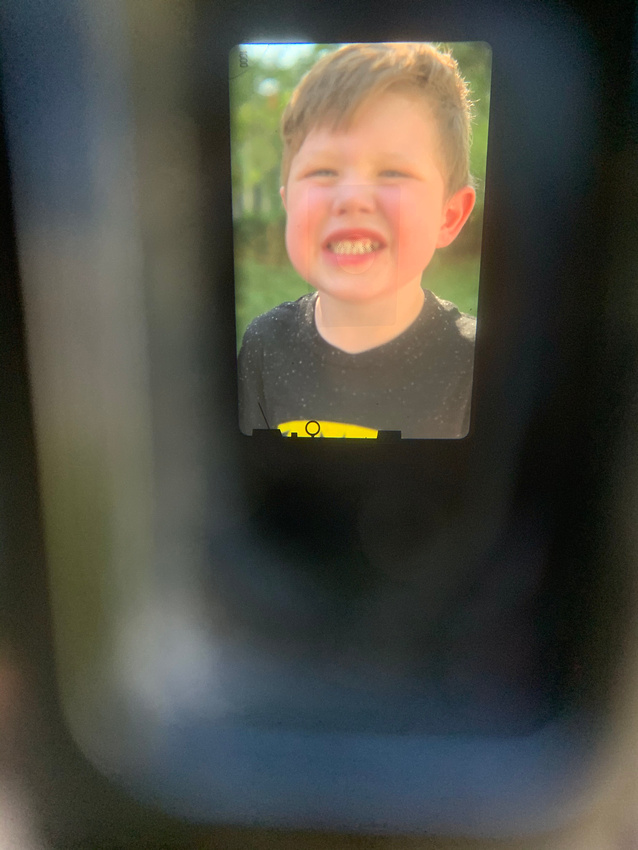
7. Get your settings ready, focus, wind the film and snap the picture! (picture is the view from the viewfinder through my iphone)
8. Once all 24 exposures have been shot, wind up the film and send it to the lab! (I cover all that in my last post.)
I was taking pictures of my boys and my nieces while photographing the material for this post and it was totally blowing their minds after every click when they asked if they could see it and I had to explain to them why they couldn't see it yet. I hope this post is useful! Once you get the hang of using a light meter and loading and unloading film it is just like using a DSLR! Happy shooting!