How To Make Custom Bokeh Shapes - Holiday Edition | Utah Family + Senior Photographer
Christmas time is such a magical time of the year! I love the Christmas Sprit and all the festivities and the unspoken rule that it is ok to hang as many twinkle lights as you want! There are so many fun things you can enjoy with your family this holiday season. I always feel like, as a photographer, I have an extra layer of magic. One of my favorite camera tricks is making festive, custom bokeh shapes! Bokeh is the "blur" effect you get when you are shooting wide open at a low f/stop. I love being able to turn the lights on my Christmas tree into any shape I want! You might have seen those glasses at the store that turn lights into snowflakes or Rudolf. Same thing.


For this tutorial you are going to need:
1. A camera with the ability to change lenses and shoot in manual.
2. The lowest f stop lens you have. (I'm using my 50 mm 1.8)
3. Card stock - preferably a neutral color. For demo purposes I used hot pink! (If you don't have card stock, construction paper will work too, you just need something thick that will block light)
4. Scissors
5. Pencil
6. Tape
7. Christmas Lights
8. (Optional) External flash

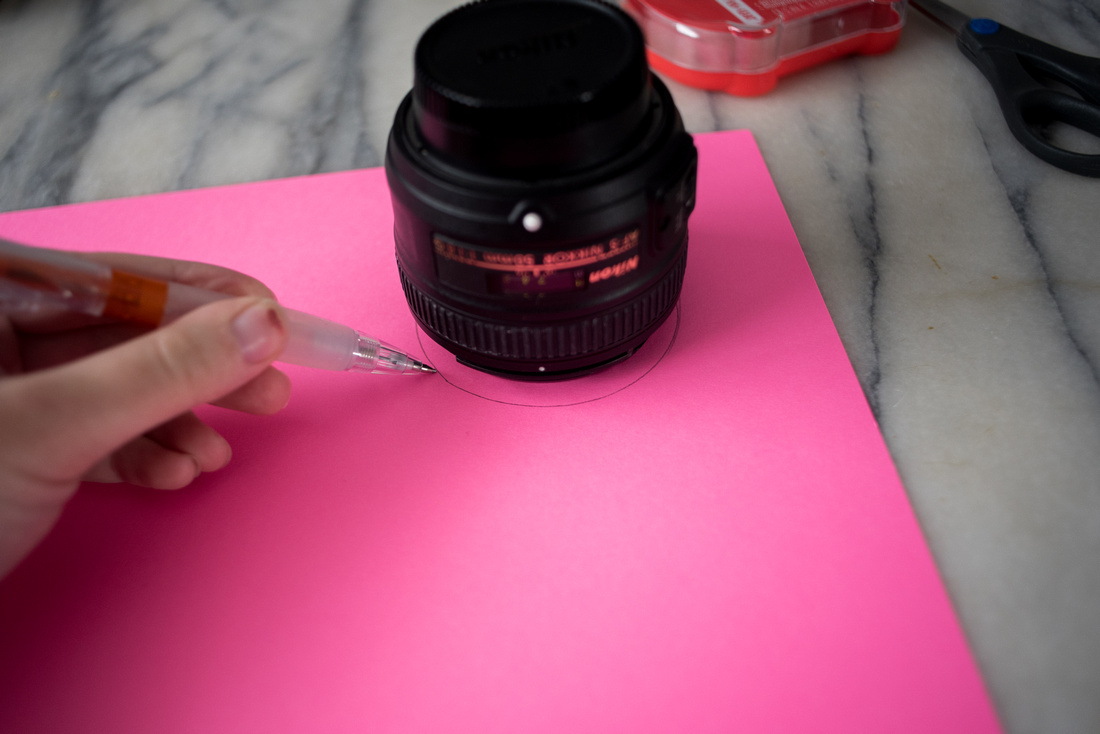
 1. Trace a circle around your lens

 2. Draw four tabs extending from the circle. Don't worry if they are not uniform or even, this is just to keep your "filter" in place.

 3. Once you've got your tabs, decide what shape you want your bokeh to appear as. Remember you'll need to cut this out, so it might be worthwhile to do an easy shape like a heart or a star.

 4. Cut out the circle and tabs

 5. Cut out the shape in your filter. Make sure to poke a hole in the middle and cut it from the middle outward. We don't want any lines coming from the outside edge. That will allow light in and mess up your design, giving it a weird tail.

 6. Bend your tabs and tape it to the outside of your lens

 (It'll look like this from straight on)
7. Attach your lens to your camera and set your F stop as low as it will go. In my case - f1.8. As far as the rest of your settings, adjust them as you normally would.

 8. Find a subject and place in front of twinkle lights. From here you can play around with distance. Depending on how far away from the light source you are and how close your subject is to your lens results in different size shapes.
(Because I used a hot pink piece of card stock, all of my images have a pink haze to them. Try out different color filters and different sized shapes to see what you can come up with!)


In the above image of my dog, I used an external flash attached to my hot shoe. This isn't necessary, but I like doing it since lights are easier to see at night. To use an external flash you'll have to have a bit more knowledge of the way your flash communicates to your camera, but the principle still remains the same. Only this time instead of making your settings be f1.8 and then metering for the rest, you'll have your shutter speed set to the synchronization needed for your camera - you'll probably have to google it, but for my Nikon D750, I set my shutter speed to 1/200th of a second.

 Once again - don't use pink paper! haha! That is the reason for the haze color cast. If you have the newest version of Lightroom, you can just pop that sucker into it and use the dehaze slider.


