How to Light Write | Salt Lake City Family + Senior Photographer


Light writing is one of my favorite "social gathering" type of photography, because everyone can do it! (Seriously! You just need one person who knows what they're doing.) In high school and college I'd get together with my friends once it was dark out and we'd all hang out in front of the camera with glow sticks, flashlights and sparklers. With the fourth of July coming up this week, it seemed like the perfect time to write a tutorial about writing with light.
To write with light, you'll need to make a long exposure. Just a bit of recap/education: a long exposure is determined based on how long the shutter is open. The longer the shutter is open, the more time light is allowed to enter. Light is the key element in photography.
You'll Need:
- tripod
- flashlight, glow stick, sparkler, etc
- camera capable of long exposures. (I've seen some long exposure apps in the app store, they may work as well if you only have a phone.)
- remote trigger (optional)


How to light write:
1. Set up your tripod and secure your camera. (We'll go over settings in a bit)
2. Make sure your environment is dark. (Dusk works too, you'll just be able to see more of the background. It all depends on the look you want) You'll also want to be aware of any street lights, car lights or any other light pollution that will be in your shot.
3. In achieving the right settings, make sure your ISO is low. I like to keep mine at 200. You'll also want to make sure you're stopped down to around F/16, or somewhere in that vicinity. As far as shutter speed goes, you have a few options; either set it for 10 seconds - or however long you think you'll need, or set to "bulb." Setting to Bulb gives you the most freedom since the shutter opens when you press the button and doesn't close until you press the button again. - So you're not scrambling to finish your piece before the shutter closes.
4. Once your settings are set, you're ready to go! Have someone stand out in front of the camera with their light source ready to go. As soon as they hear the shutter go off, start drawing! *Remember, it'll be a mirrored image, so you'll need to take that into account if you start writing words.
5. Have fun with it! Try new things, cover the light with your hand to "move" the starting point (similar to lifting the pencil when you draw.) You can also shine your light on people or things to have them be part of the picture too. Whatever is touched by light will be part of the image.
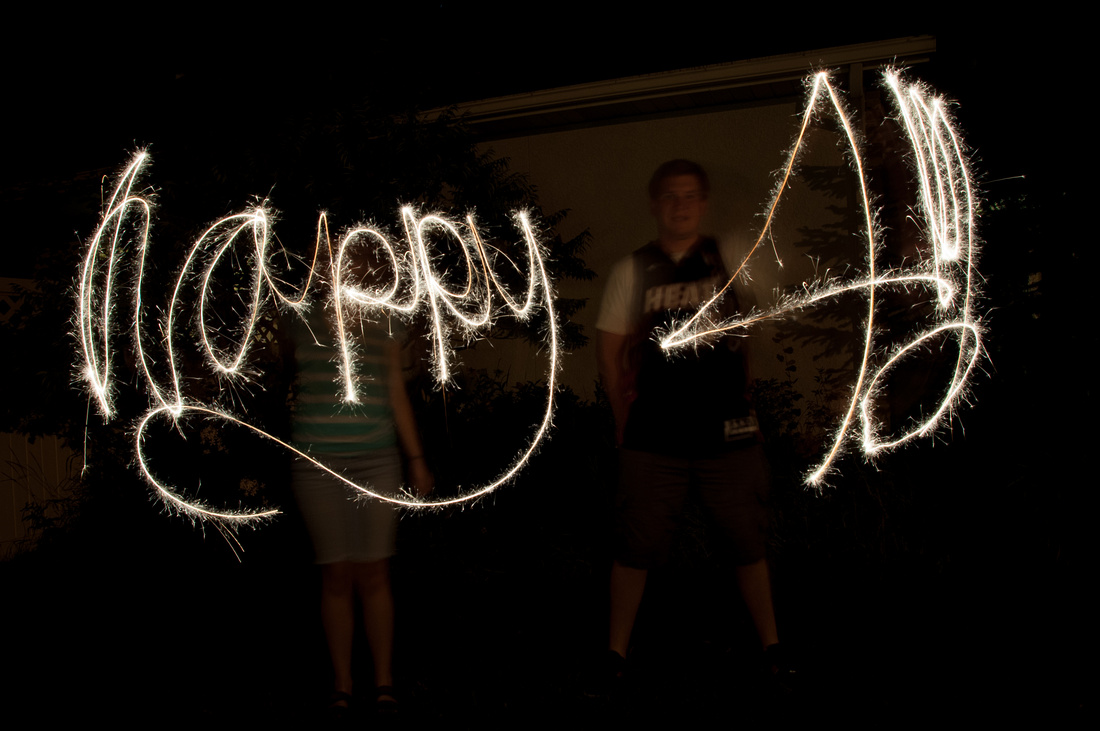
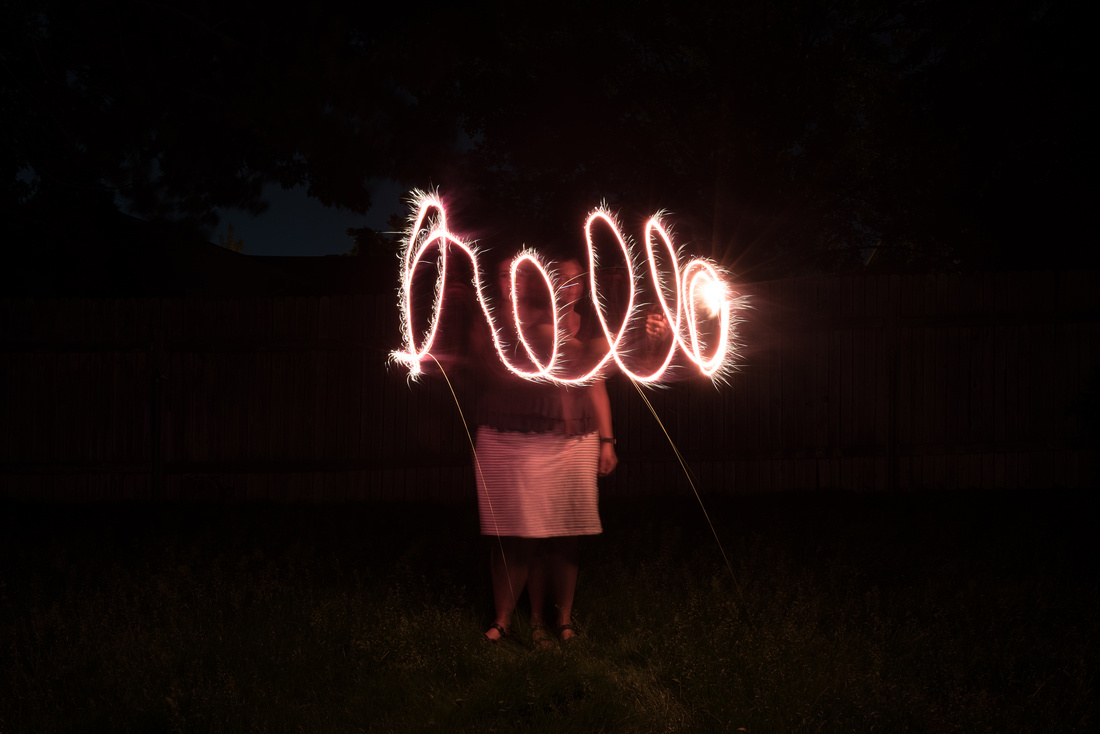
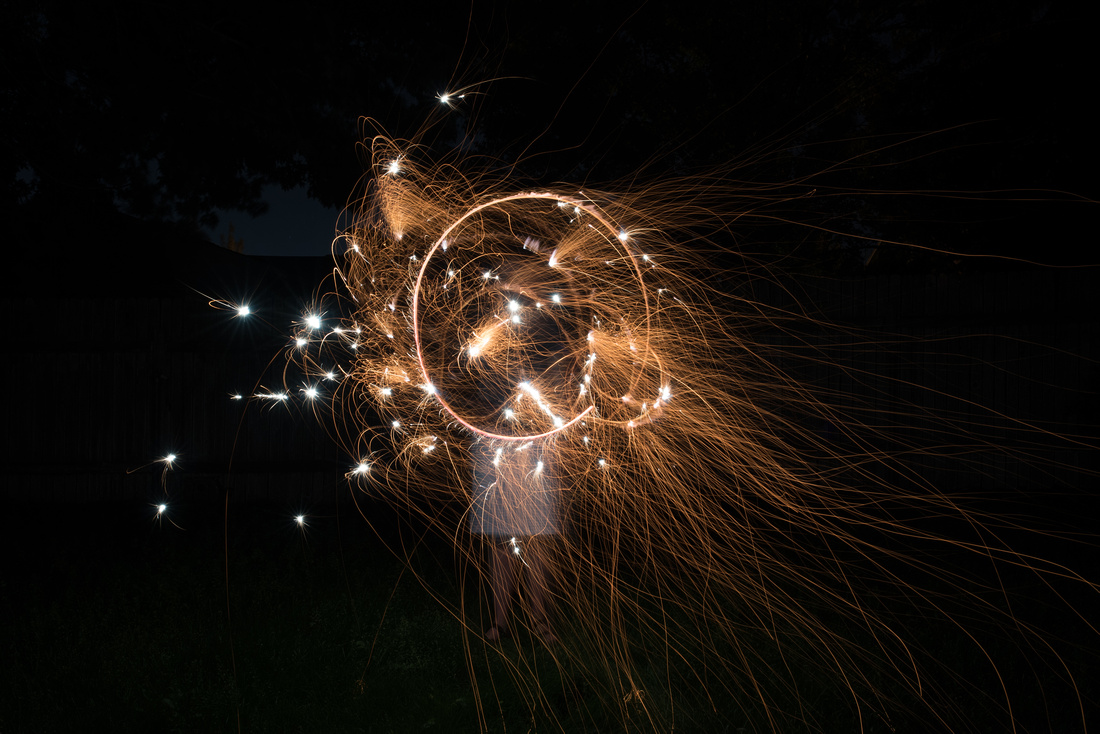
I've included some examples of shots I've taken over the years during the holiday season.


