How To Take Silhouette Pictures | Salt Lake City Family + Senior Photographer

 You know that scene in the beginning of The Princess Bride where Buttercup finally realizes that she loves Wesley and they romantically stare into each other's eyes as the sun sets and the colors are so vibrant around their silhouettes? It was that scene that made me want to learn how to take silhouette shots with my camera. In high school I remember tirelessly tracing my subjects in photoshop and then bringing the exposure all the way down. I was in awe of the itunes commercials with dancing silhouettes and white ear head phones. How the heck did they get the hair so precise?! It wasn't until my teacher looked over my shoulder as I was working one day and said, "You know that's actually really easy to do in camera." My mind was blown.
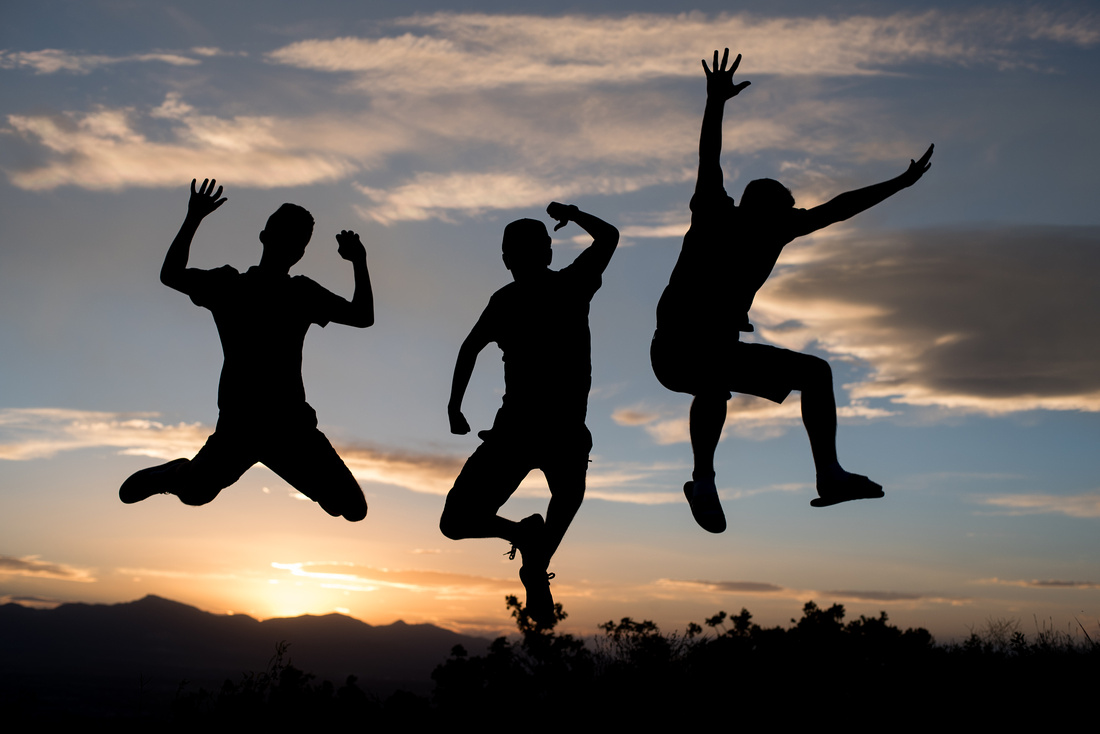
So to save you hours of screen time trying to achieve a look you can literally achieve in seconds, here's a little break down of what to do. In short, you'll need to expose for the brightest light. Sounds easy enough right? Well there are a few things that need to happen if you are wanting to get shots that look like these:


The very first thing you'll want to make sure of is your location. Choose a place that has a really wide sky. It's best to go somewhere without any tall buildings or trees to get in the way. In the picture above, the Millers are at Saltair. Plenty of wide open skies there! For all the demo pictures in this post, we are at Potato Hill.


The reason behind this is, you'll be backlighting your subject. Anything not in the sky will not be seen, it will just become part of the foreground's silhouette.
Now that you have your location, it's time to take the picture. (If you don't have a DSLR, I like using the VSCO app. The app has a built in camera that is capable of exposing and focusing independently of each other.) Once you have your subject where you want them you'll expose for the sky and focus on them. To demonstrate what that looks like, I did a screen recording of when I used the VSCO app to take a picture of my brother. (Who he and his friends graciously agreed to help me out with this post.)

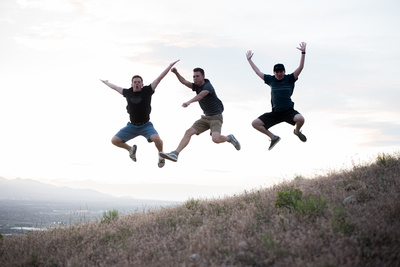
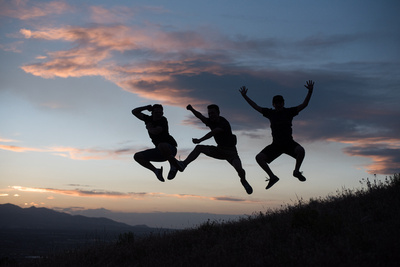
In the screen recoding you can easily see what happens when you change your exposure. In the pictures below, the only thing different between the two (besides the pose) is my settings. They were literally taken seconds apart.


Expose for the people on the left and expose for the sky on the right.
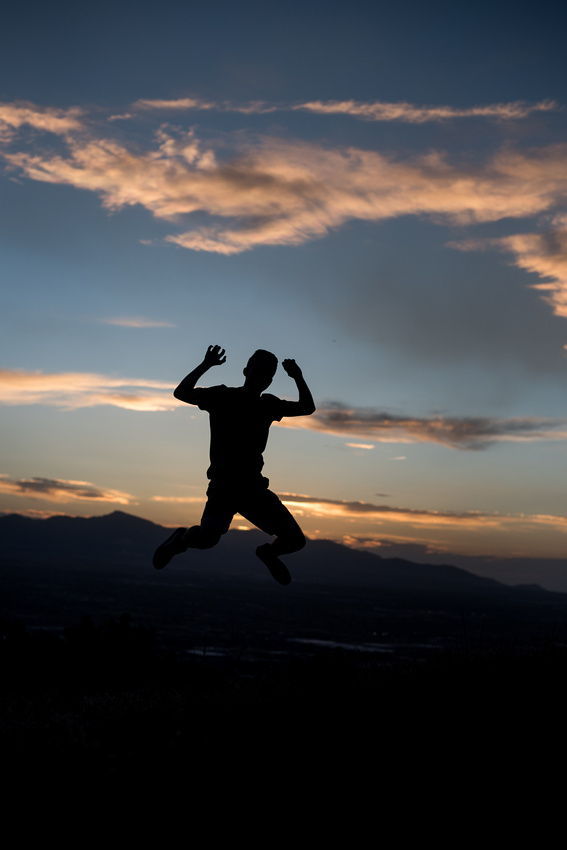
Another thing to look out for is subject placement. I briefly mentioned it before, but if you aren't aware of your surroundings, or don't have a big enough sky, your subject will appear to be cut in half and blend into his surroundings, like below. My brother looks like he has no lower half!


Experiment and have fun with it! It's fun to use different skies and scenes. Just make sure that you have a really bright light behind the subject (sun, fire, water reflecting, etc) and you are good to go!


