DIY Photograph Thankful Tree Centerpiece | Whitney Beth Photography


DIY Photograph Thankful Tree Centerpiece | Whitney Beth Photography
With this year being the year that it is, I think we all could use a little step back to look at how much we really have. It's been hard for everyone, but when you look back and notice what you are grateful and thankful for, it may just change your mindset. I'm always looking for ways to include photographs in my holiday decor - it really adds that personal touch and helps make that piece all that more meaningful. With Thanksgiving just around the corner I wanted to find a way to display what I am thankful for - despite what my Thanksgiving will look like this year. Enter; my take on the thankful tree! I made up a quick little step by step so you can see how I made this awesome centerpiece.


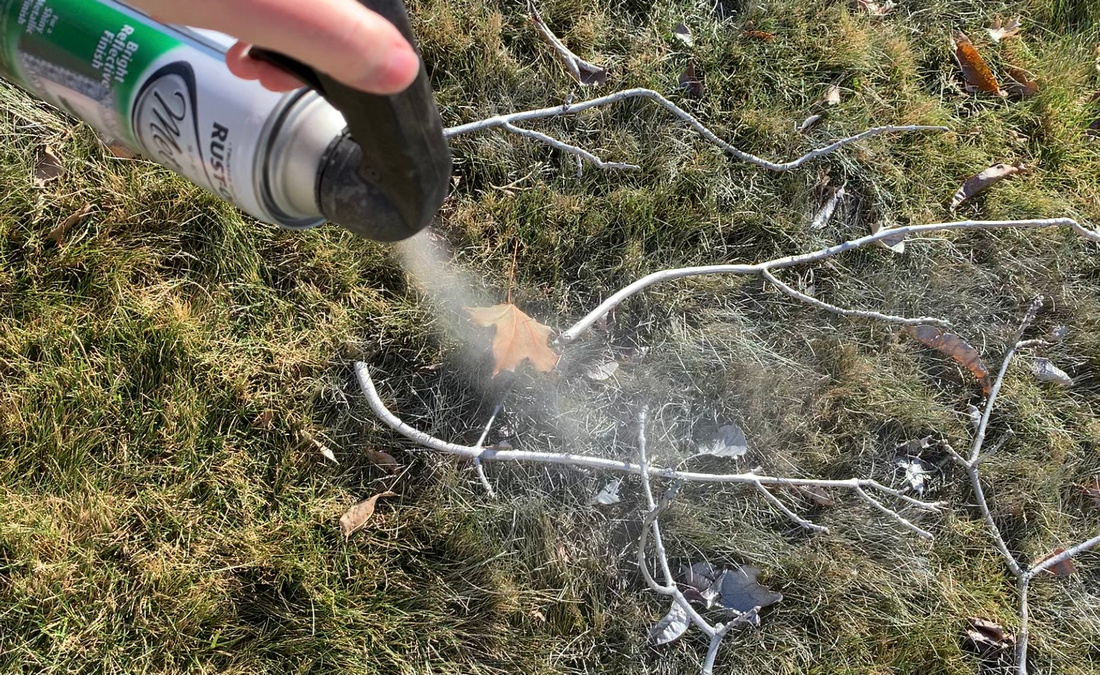
1. The first thing I did was trim some branches from a tree in my yard and spray paint them metallic. Gold would look beautiful too, and I would've used it if I had some, but I didn't want to run to the store and decided to use up the last bit of my metallic can. It actually ended up looking so good with my cool color pallet that I have in my dishes, table cloth and glasses. *When trimming branches and twigs try to find ones with lots of little branches and twigs jutting off - this will leave you more space for decorating.


2. Arrange your (dry) spray painted sticks in a wide mouth vase. You'll want to try and evenly distribute the branches so they aren't all clumped to one side. You'll also need to account for how large your table is. I decided to go big or go home and for photographing and blogging purposes had my arrangement on the grand size. Just make sure you'll be able to eat without getting stabbed with sticks and photos!

 3. Next, you'll want to take your photos that you've already printed and get them ready. I just scrolled through my 2020 folder and found bunch of photos that jumped out to me and that I was thankful for - like trips and family time etc. I ended up printing about 75 prints. I opted to have mine printed as polaroids since this adds an extra element and frames the photo nicely with the white boarder and helps it look more "finished." You can get your photos printed in polaroids at Persnickety Prints.

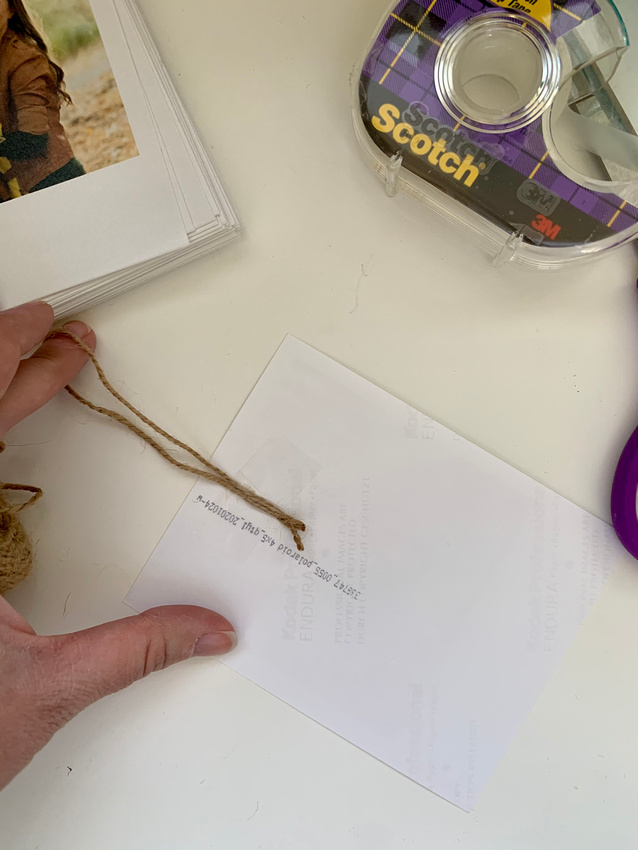
 4. Next you'll need to gather some twine or string, tape and scissors. (It's important to note that if you plan on leaving the tape on the photos that you should get artist tape or some other kind of archival tape that will not eat through your photos over time. If the tape is only temporary - like mine, regular scotch tape works great!)


5. Welcome to the time consuming part. Cut your twine about 3-4 inches long and then tape it to the back of your print. Since I was planning on hanging mine back to back I wasn't worried about making it look perfect from behind. *If you want to class it up a bit you could tie your string to baby clothespins and then skip the tape all together.

 6. Once all your photos are prepped it's time to hang them! Like I mentioned before, I ended up hanging them back to back to hide the tape and get the most use out of my space and utilize every angle for picture viewing.
And there you have it! I just love how my photos elevate the space and bring in so much color and life to my tablescape. Another alternative to this would be to use actual polaroids either taken right then and there, spaced out over days leading up to Thanksgiving, or printed on a fuji intax printer from photos on your camera roll. However you decide to print and hang these pictures is totally up to you! And when you're done with Thanksgiving, you have a readers' digest version of your year all printed and ready to enjoy.
Thanks for reading! I hope you enjoyed this little photo DIY! I'm so thankful to have followers and readers like you! Be sure to follow me on instagram to see more of my work!


