
Halloween Optical Illusion Photographs | Whitney Beth Photography | UT Family Photographer


Halloween Optical Illusion Photographs | Whitney Beth Photography | UT Family Photographer
It's that time of year! Hello Halloween! I had the best time last year with my spooky Halloween portraits that I wanted to try and come up with another Halloween photo DIY. I'm pleased to present to you, my Halloween Optical Illusion Photographs! If I'm being honest here, I had no idea that this would work out until I was literally putting it together - making it up as I went. Luckily it came together fairly easy and after making the first one and figuring out the bumps, the other two were made in a snap!
First lets talk about what you'll need:
- prints (I did 8x10's, but you could do whatever size works best for you)
- glue stick
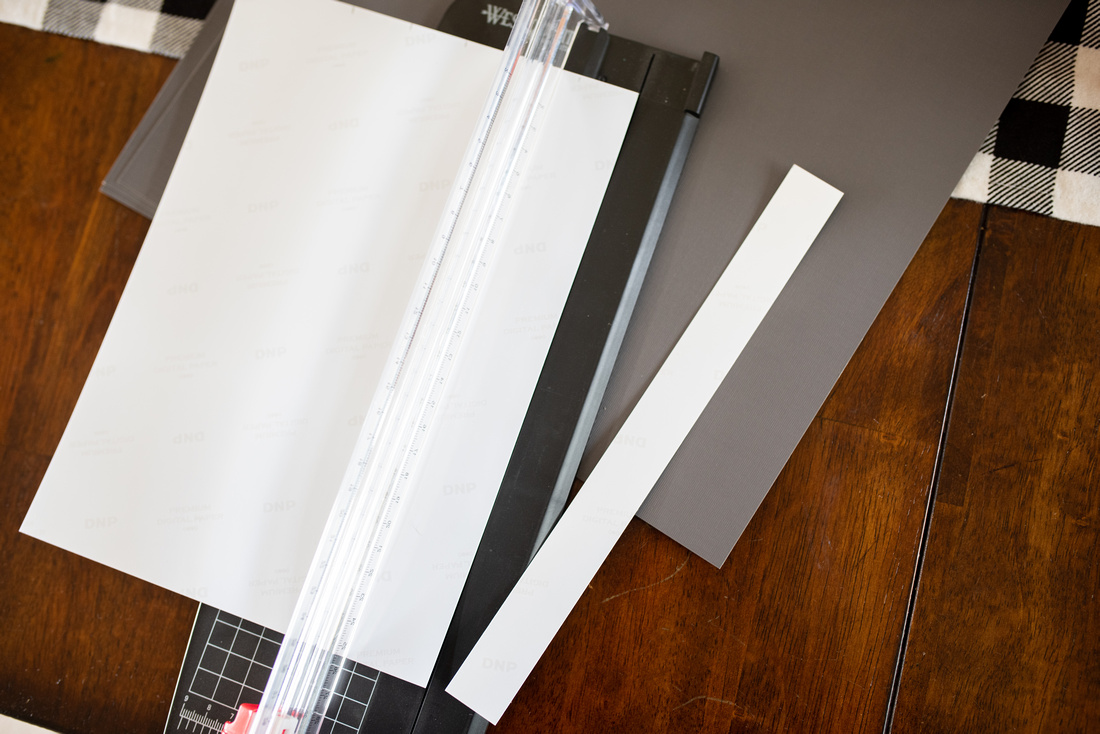
- paper cutter
- black scrapbook paper
- something to take a picture on that has access to filters.

 Step One: Use your camera phone to take two pictures of your subject one with and without a filter. I used Instagram and the filter, "The Soul X-Ray". Make sure you save them to your camera roll.

Step Two: Once they are saved, send them to print. You can print them whatever size you like, just make sure they are the same size. I printed 8x10's so that I could have a bigger surface area to work with.
Step Three: Cut your photos into even strips. I cut mine into one inch strips. (Be careful not to mix them up or you'll have to do some puzzle-ing) Repeat for both normal picture and X-ray picture.


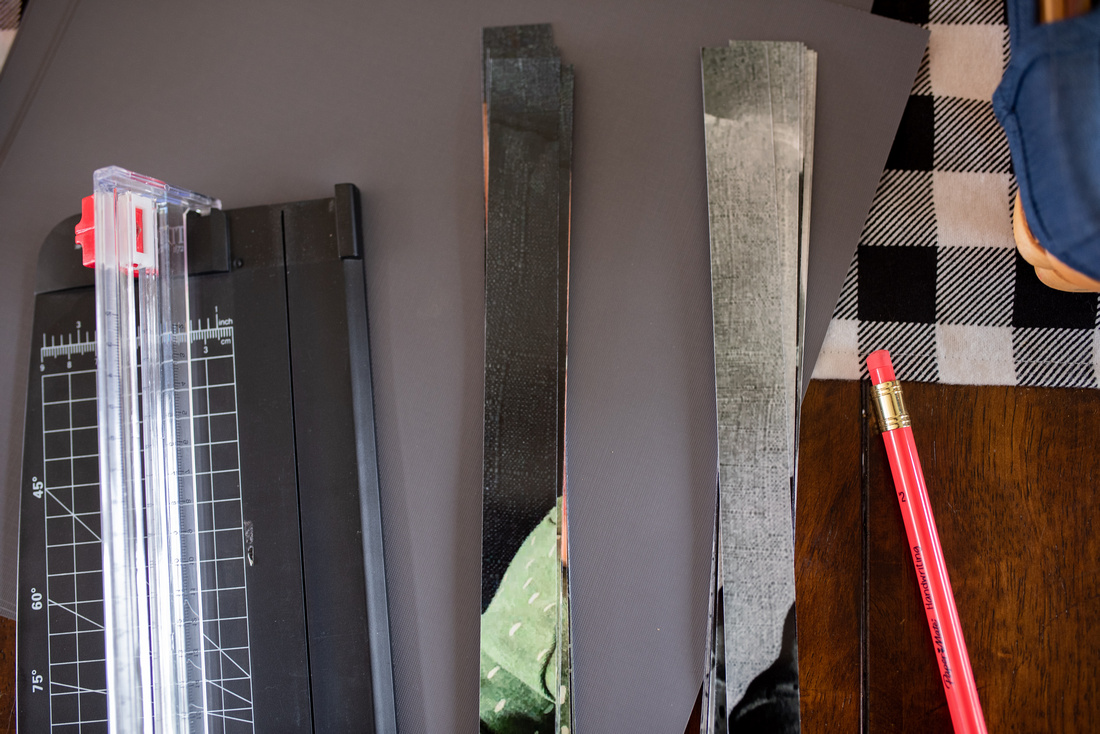 Step Four: Time to start laying out your picture pieces. Starting with either the normal picture or the x-ray one alternate pieces from each picture on top of your black scrapbook paper. I ended up. needing one and a quarter sheets of paper since I printed them so big.
 It'll look something like this
Step Five: With your pieces all laid out, it's time to glue them down in that order
 Step Six: Trim off the extra scrapbook paper so you are left with just your picture
 Step Seven: Accordion fold your picture - making sure the creases are on the seams between picture pieces
 Step Eight: Repeat until all of your portraits are like this!
*Fun tip - alternate starting with an x-ray piece and a normal piece so that when grouped together you are always looking at at least one x-ray image.

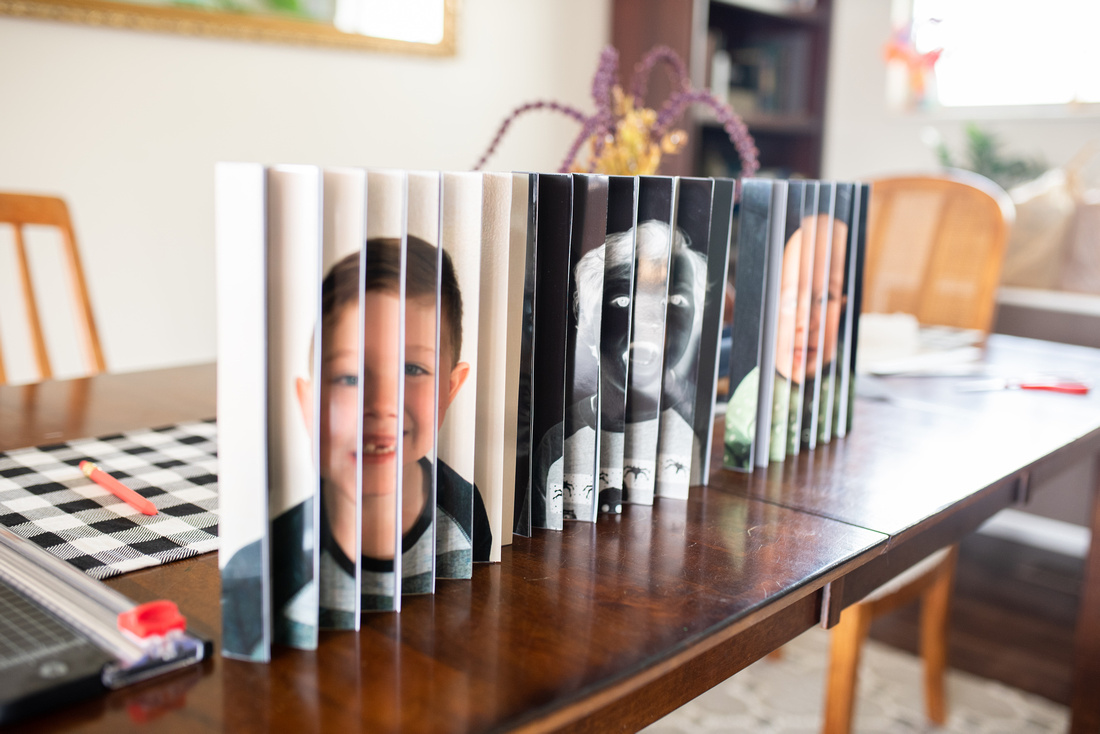
 You can either frame them by glueing them to the outside of a frame or let them be like I did. What's great about the accordion fold is that it naturally props up the picture so it is ready for display! Let me know if you decide to make one!